
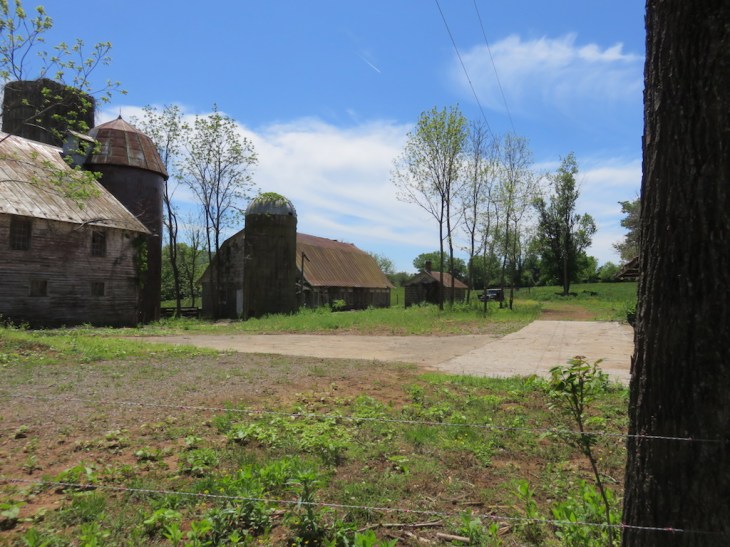
15. The Barn Yard May 16, 2016
By the Spring of 2016, the ground had a little chance to heal and the trees were starting to stretch out their limbs. I had been busy over the winter with designs for rebuilding the house.
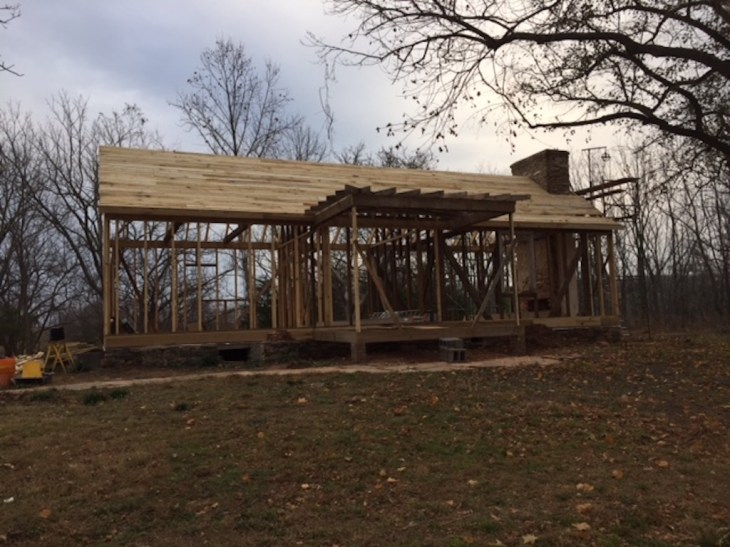
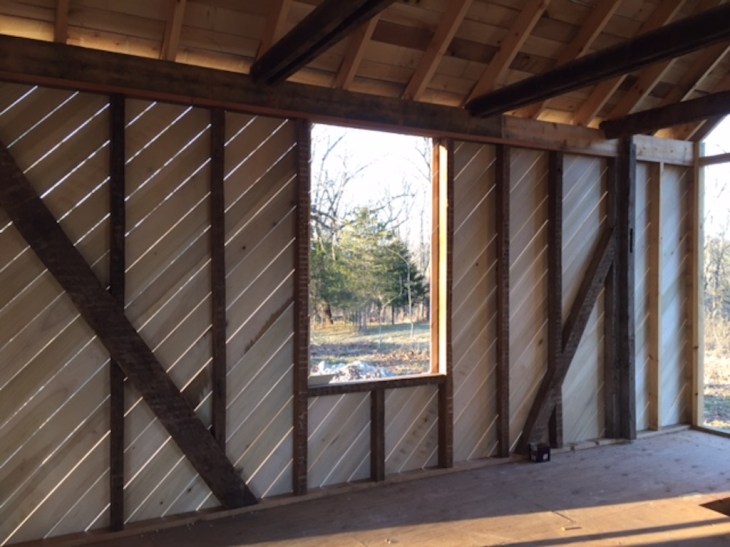
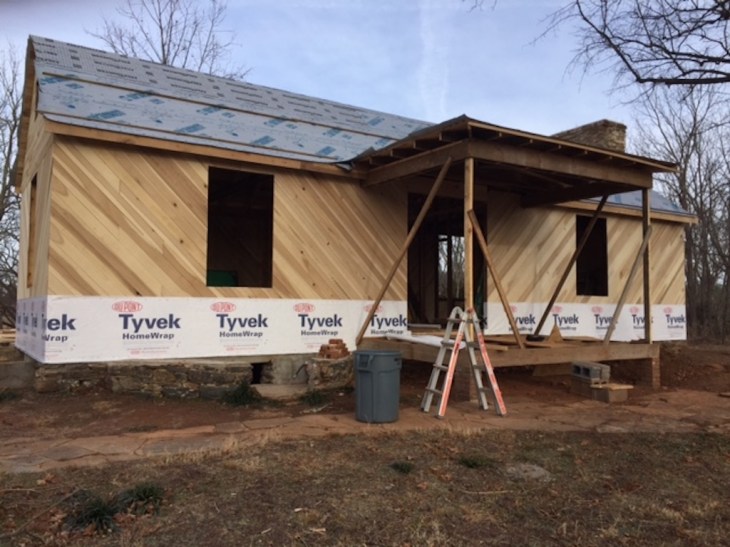
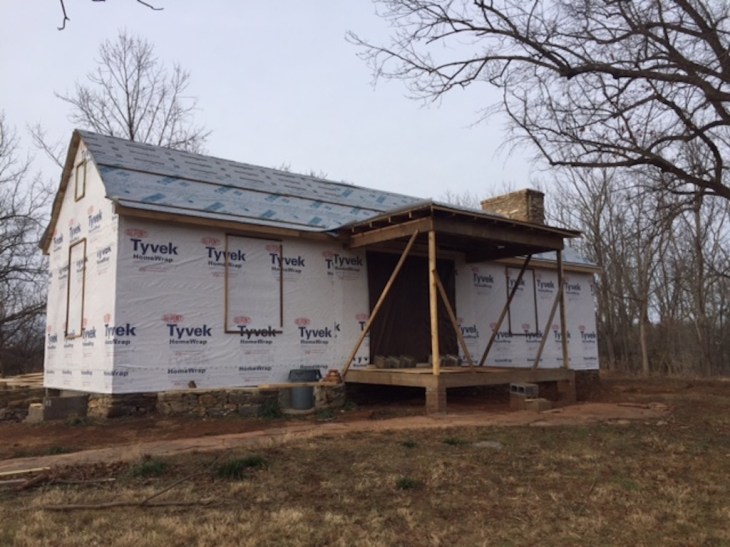
I did not need another house to maintain so I determined to keep it simple. I was just going to build back the original 3 rooms and a single bay of the 1900 porch, centered on the front door. I would incorporate as many of the surviving pieces of the original house that I could. There would be no heating or plumbing. Just a simple wooden structure, finished on the exterior but bare exposed wood on the interior. A pavilion. A folly
This little part of Green Mont would serve as a place holder for any one who might want to expand upon it in the future. Built in this simple way, without insulation or interior finishes to trap moisture, and a good roof to keep the water out, it would be there for a long time.
Clearing and tree work continued through April. I picked up a few essential hand tools and a used pick up truck.
The building department did not know what to make of my plans when I went in for a cursory review. I was using recycled materials, ungraded rough-sawn lumber, and single glazed windows with sash weights and cords. There was no plumbing; no insulation; no finishes. But, there were lots of jokes.
Was it an “adult play house”? I suggested it was a pavilion, or a folly. No. In their final determination, it was a “shed”; an accessory building. They gave me a tentative nod and I went ahead with my plans
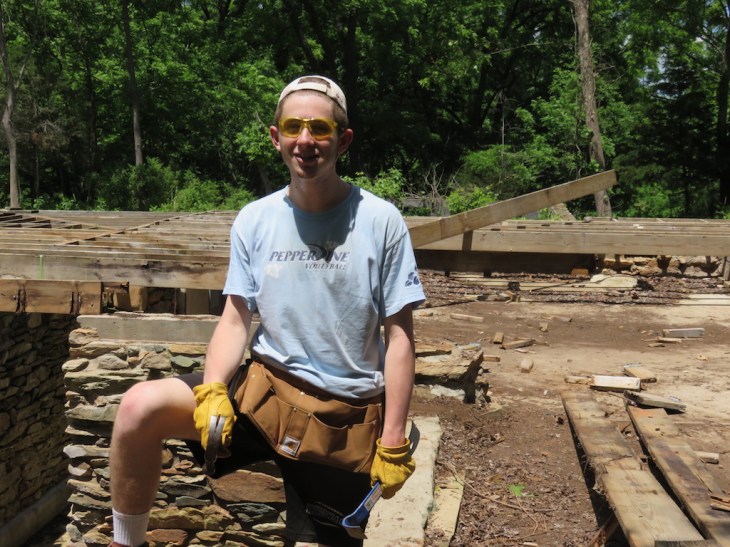
My son, Harry, arrived from Ohio to spend the summer helping with the project. It was not his first experience with construction, but almost. I fitted him out with work clothes and a good pair of boots, safety goggles and a tool belt.
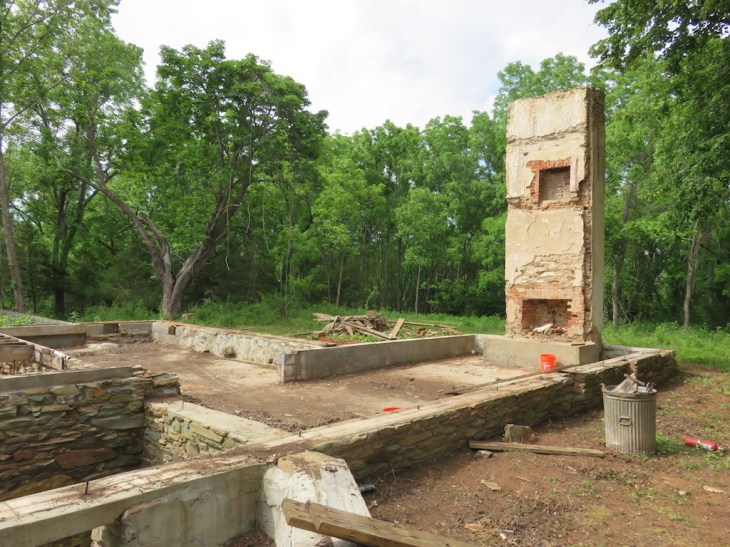
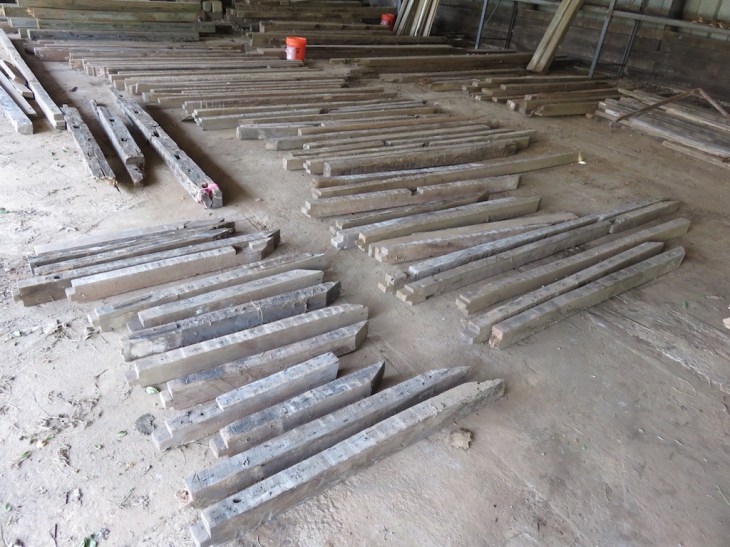
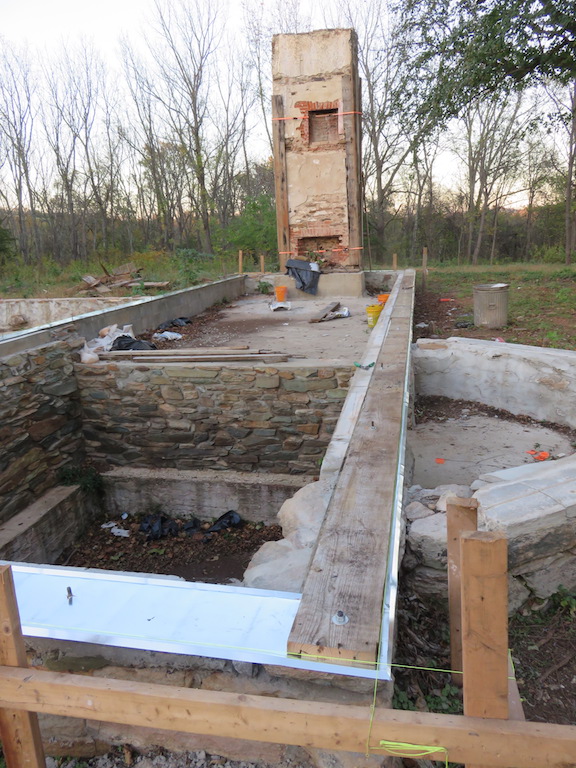
Our first job was to remove and salvage all of the pressure treated lumber that had been used for the main floor deck in 1986. I had left it in place during the demolition to protect the foundation. There was plenty of life left in the lumber. It would not be reused for the long spans but it would serve well for plates, band boards and blocking. Then we cleaned, repaired and leveled the top of the old foundation walls in preparation for the building to come.
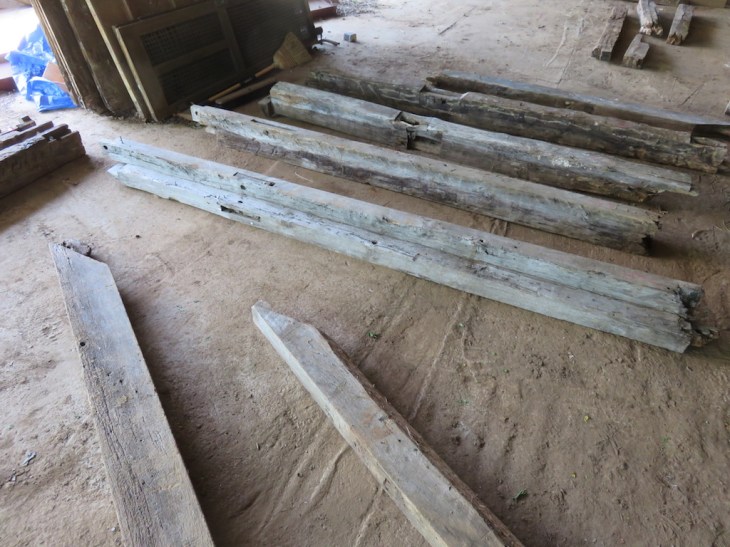
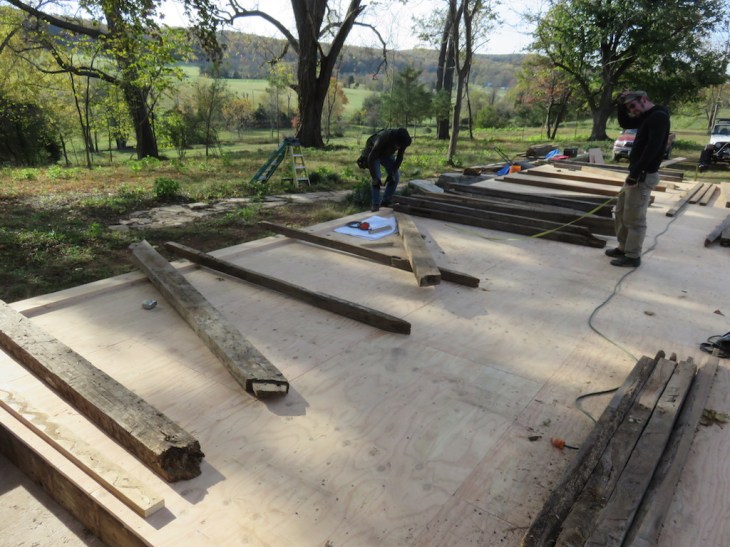
We sorted and stacked all the salvaged lumber, carefully measuring and laying out the old chestnut and pine to determine how we could best utilize it.
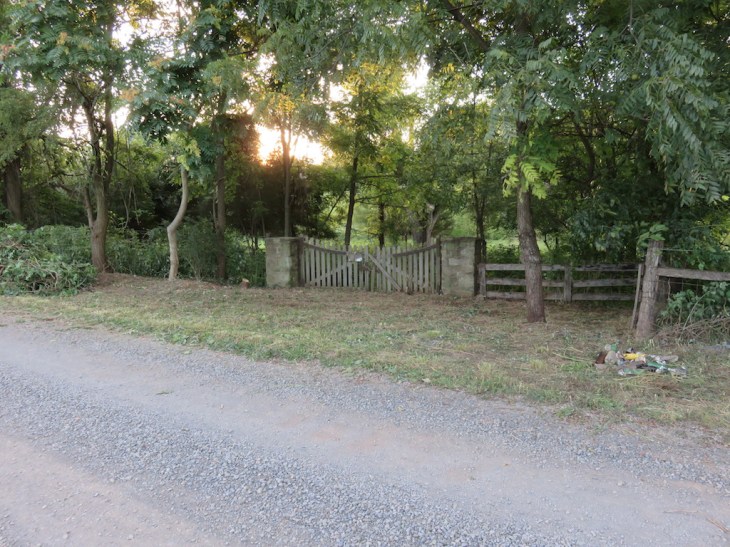
My daughter, Isabelle, came for a visit that summer. She and Harry and I undertook to open up the front driveway gates that had been blocked and unused for almost 15 years. Over the years of dis-use, snow plows and road graders had piled up a considerable amount of soil in front of the gates. So, even though you could now open and pass through the gates, there was more work to be done.

When I went back to the Building Department in October with my completed plans they were startled by what I had returned with. The head reviewer, who I had met with back in June, seemed confused by all the detail in the exterior and the fireplace (even though the preliminary drawing that she had reviewed had clearly indicated all of this). She said, “This isn’t a shed.” I reminded her that she was the one that had dubbed it a shed. She scratched her head and said “I’m going to have to think about this.” leaving me with an uneasy feeling. After a rather unnerving 24 hours, I called her back and she told me that my shed was approved.
Mike Lauterbach, and his son, Jordan, had agreed to come on in a full time capacity.
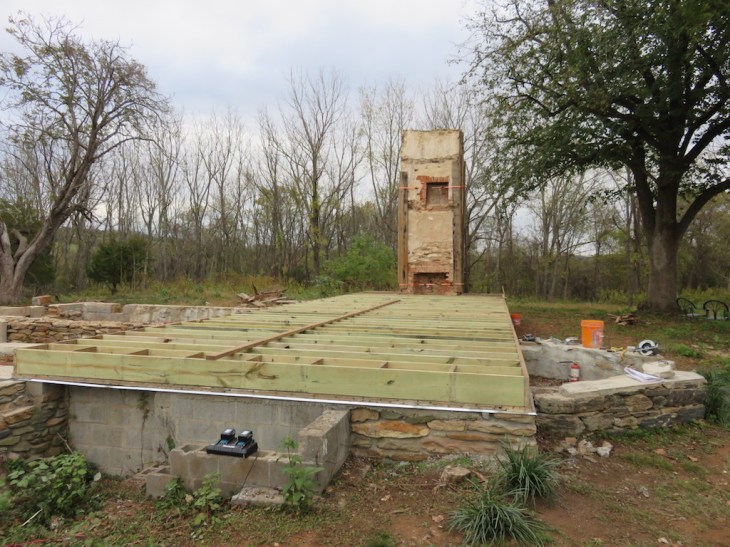
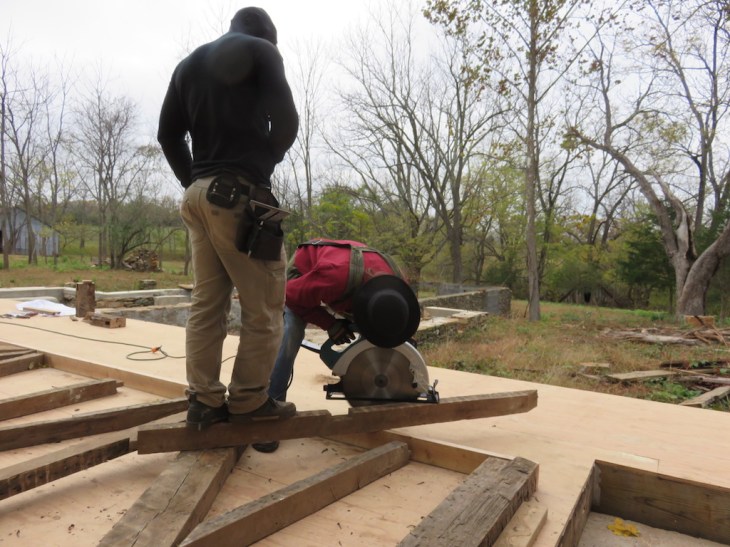
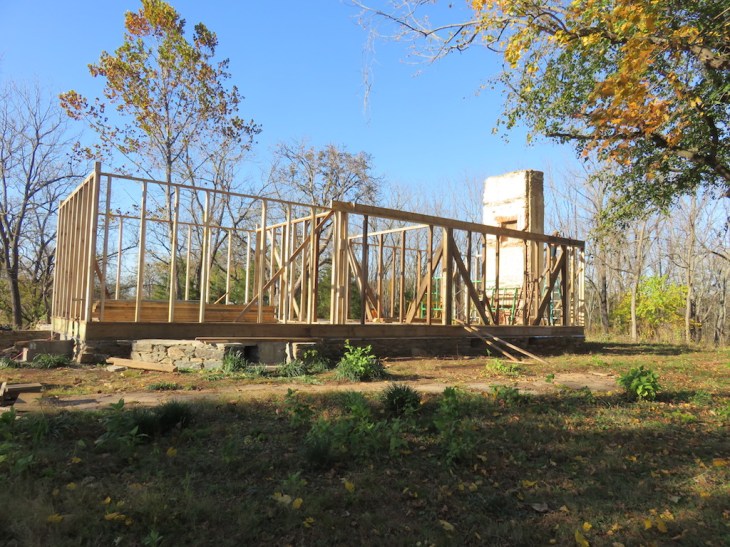
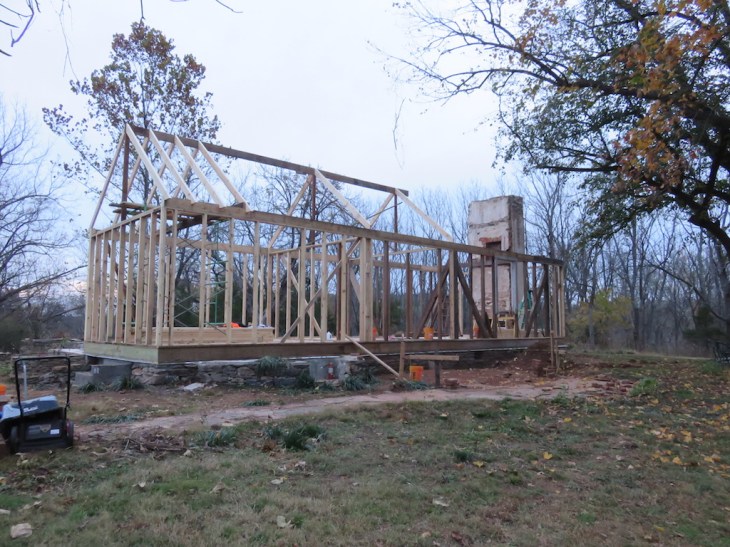
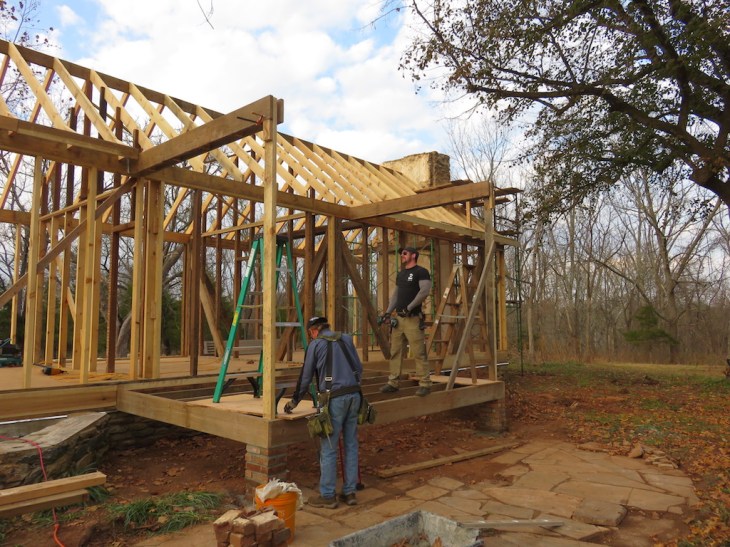
We were going to start with the house and then work our our way through the barns. The thinking was that it might take the better part of a year, and that we would get as much done as possible before the upcoming reunion, now 9 1/2 months away. No pressure. I bolted down our recycled sill plates and we were off.
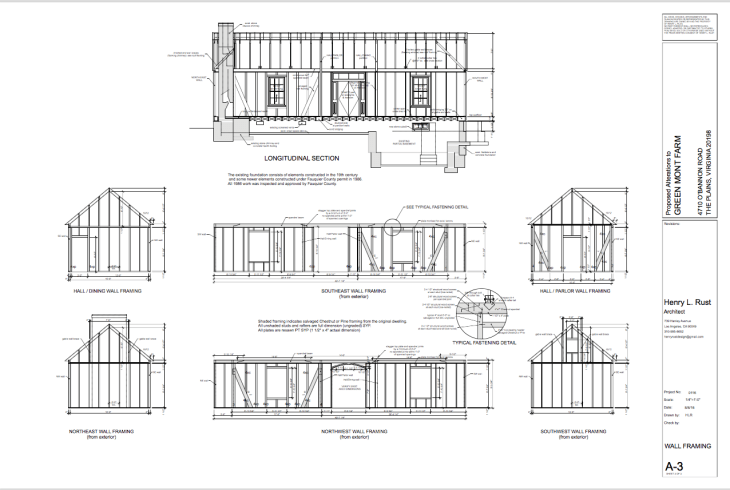
The framing was going to be unconventional by today’s standards, both in design and material, so I included it in the drawings I submitted exactly as it would be built so that there would be no misunderstandings when it would come time for inspections.
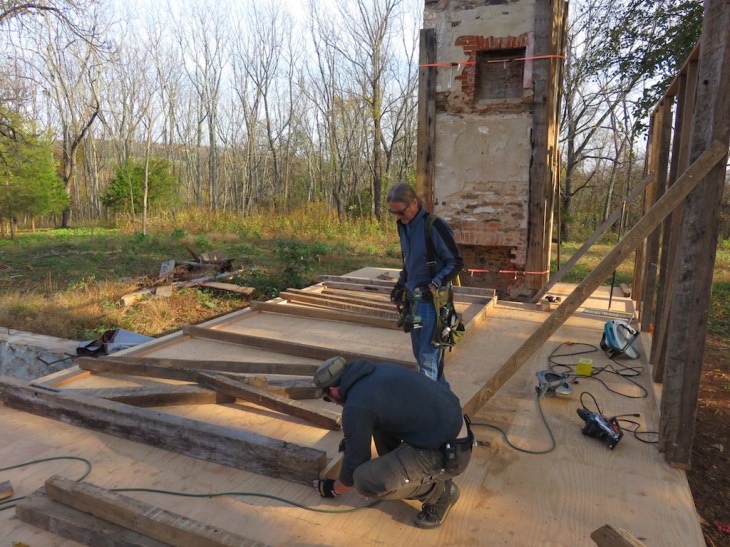
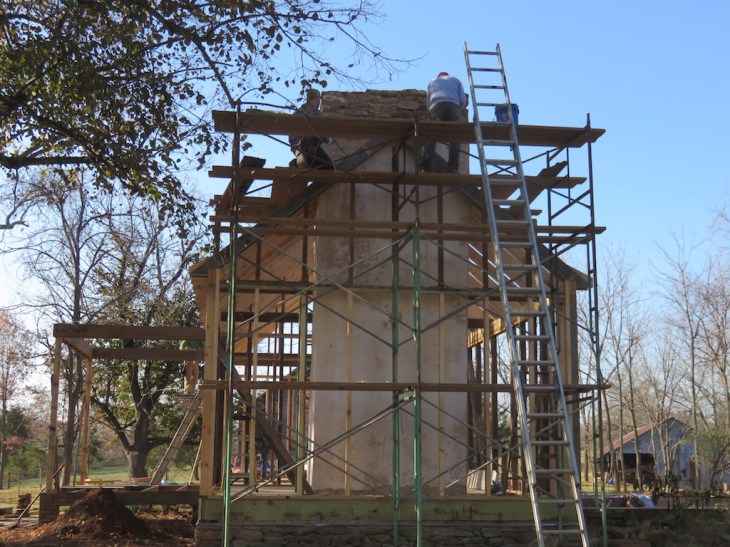
There was enough salvaged chestnut framing to build one room, the Parlor; the room with the 200 year old chimney. It hadn’t all come from that room but any of it that did was put back in its original location. The framing style, right down to the mortise and tenon joints, is consistent with the original with the exception of the wall base plates which are typical of contemporary “platform” framing. (The original joinery on the bottom of the salvaged framing members had rotted away and they would have been too short to use otherwise and preserve the original ceiling height). Where we ran short of original salvaged material we used rough-sawn pine from a saw mill in West Virginia.

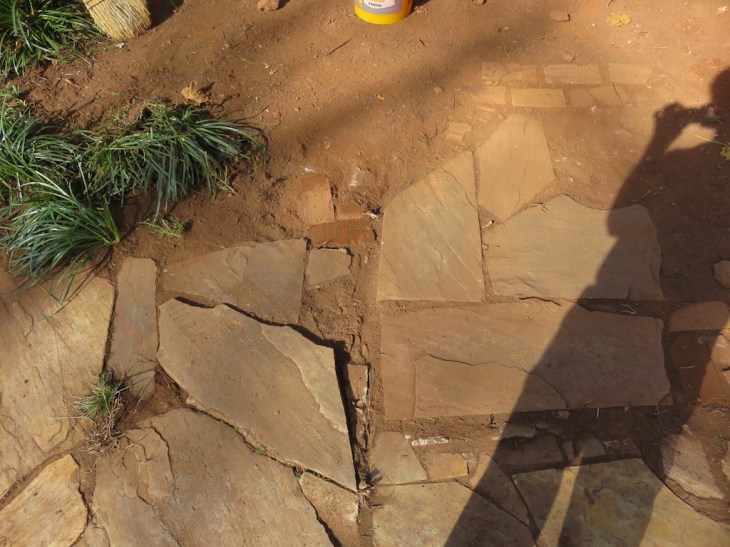
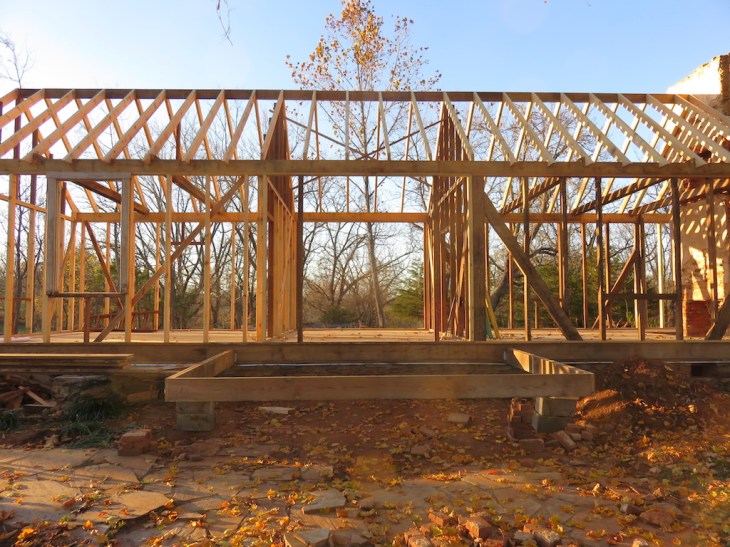
Some careful excavation located the original porch footings. They were comprised of large stones buried 18” below the surface capped with molded brick. I decided that the footings had stood the test of time and decided to build on them. I had recovered enough brick from the site to build them back up to height.
One interesting discovery was that I also located the footings for the 1840’s porch that is visible in the cover photo for this blog; a photo taken in 1891. You can see that the same flagstone walk had served that earlier, shallower porch.
It was right about this time that the word was going around that this was way cool, but it needed a bathroom…and maybe a kitchen? I agreed, but I wasn’t going to chop up these wonderful rooms to achieve that. Instead, I decided to go ahead and expand the plans to include the remainder of the 1877 foot print that the Flemings had first moved into. This would add the Den and the stairwell, the warming kitchen and china pantry (that had become the first interior kitchen way back when; 1948?), and the larder which had been turned into the downstairs bathroom in about 1910.
This would mean I would have to return to the building department to submit plans for an addition to my “shed”. I anticipated more than a few questions.
6 1/2 months to the reunion
